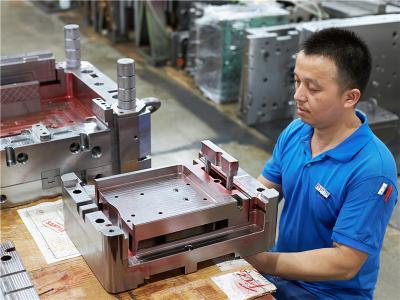
Hot Runner Mold
Hot runner technology, with its unique technical advantages such as cost saving and shortening the molding cycle, has become an important field of plastic injection molding process. The installation of the hot runner is directly related to the quality of the product. The following are the precautions for the installation of thehot runner mold:
Place the mold, level the upper mold, and clean all the holes and templates with an air gun.
Check the size of each hole, focus on the depth, and remove the burrs on the template. At the same time, check whether the screw holes of the lock splitter plate, the center nail and the anti-rotation pin hole have been processed. The master who made the hot runner mold for the first time in this place often missed it.
Sweep the hot nozzle sealant position and the upper step position which are matched with the mold.
Try to install the hot nozzle, and then remove it to check whether the sealant position rubs the red lead and whether the step position touches the mold. If not, stop the installation, check the cause of the error and make adjustments to ensure that the fit is tight and does not leak materials. Be careful not to hurt the tip of the mouth during this process.
Install all the hot nozzles, and install the center pad, center pin, and anti-rotation pin at the same time, and sweep the red lead on its flat surface.
Check the nozzle plane and the height of the center pad, and the error should be controlled within 0.05mm.
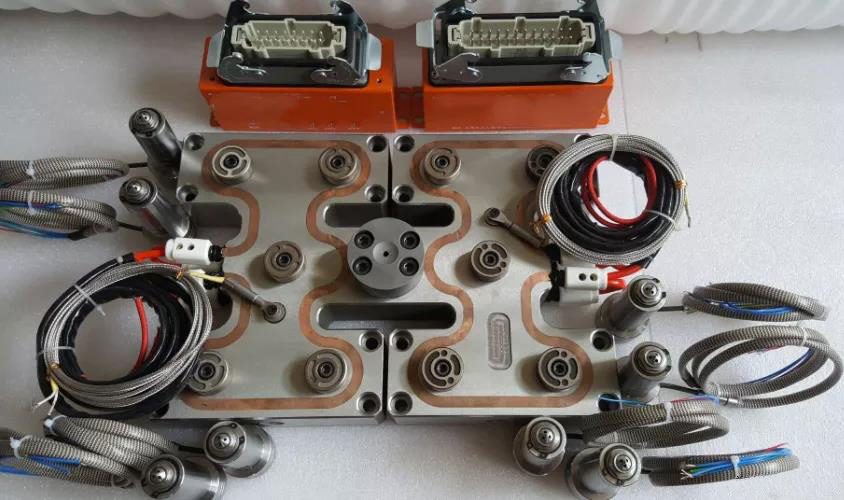
Trial installation of the manifold. Pay attention not to miss the hot nozzle sealing ring when installing the manifold.
Check the coordination of the manifold and the hot nozzle to ensure that all the red lead is touched to ensure that there is no leakage of glue.
Arrange the wiring of the hot nozzle to be neat and beautiful, and number each group of wiring in order, and connect the wiring to the plug.
Formally install the manifold, and tighten the screws of the manifold (note that you must lock the balance and keep the four corners of the manifold at the same height), control the manifold meson to be 0.10-0.15mm higher than the plane of the peripheral mold frame, and then place it on the manifold meson Sweep the red pill.
Try to install the code template, check whether the plane touches the meson red lead, and make sure that the template is pressed against the manifold meson.
Lock the mold, stand the mold up, and check whether the fit between the gate and the tip of the nozzle meets the requirements from the parting surface. The tip should be 0.1-0.2mm lower than the gate surface, and the tip should not be eccentric. Use a multimeter to carefully check each group of circuits to ensure that there is no short circuit, open circuit, leakage, etc., and each group of circuits corresponds correctly to ensure that all circuits are normal.
Connect the thermostat to test heating, the first heating should be within 100℃,keep it for ten minutes to preheat and dehumidify, protect the heater; then, heat to the required temperature, if normal, you can arrange the lifting mold test mold.
Categories
latest blog
 Building A, Dingfeng High-tech Park, Shapuwei Community, Song Gang Street, Shenzhen, China, 518105
NO.1 Jinchang Road, Henan Industrial Zone, Chang’an Town, Dongguan City, China


For inquiries about our products or pricelist, please leave to us and we will be in touch within 24 hours.
© Copyright: 2026 Lyter Engineering Ltd. All Rights Reserved

IPv6 network supported
 English